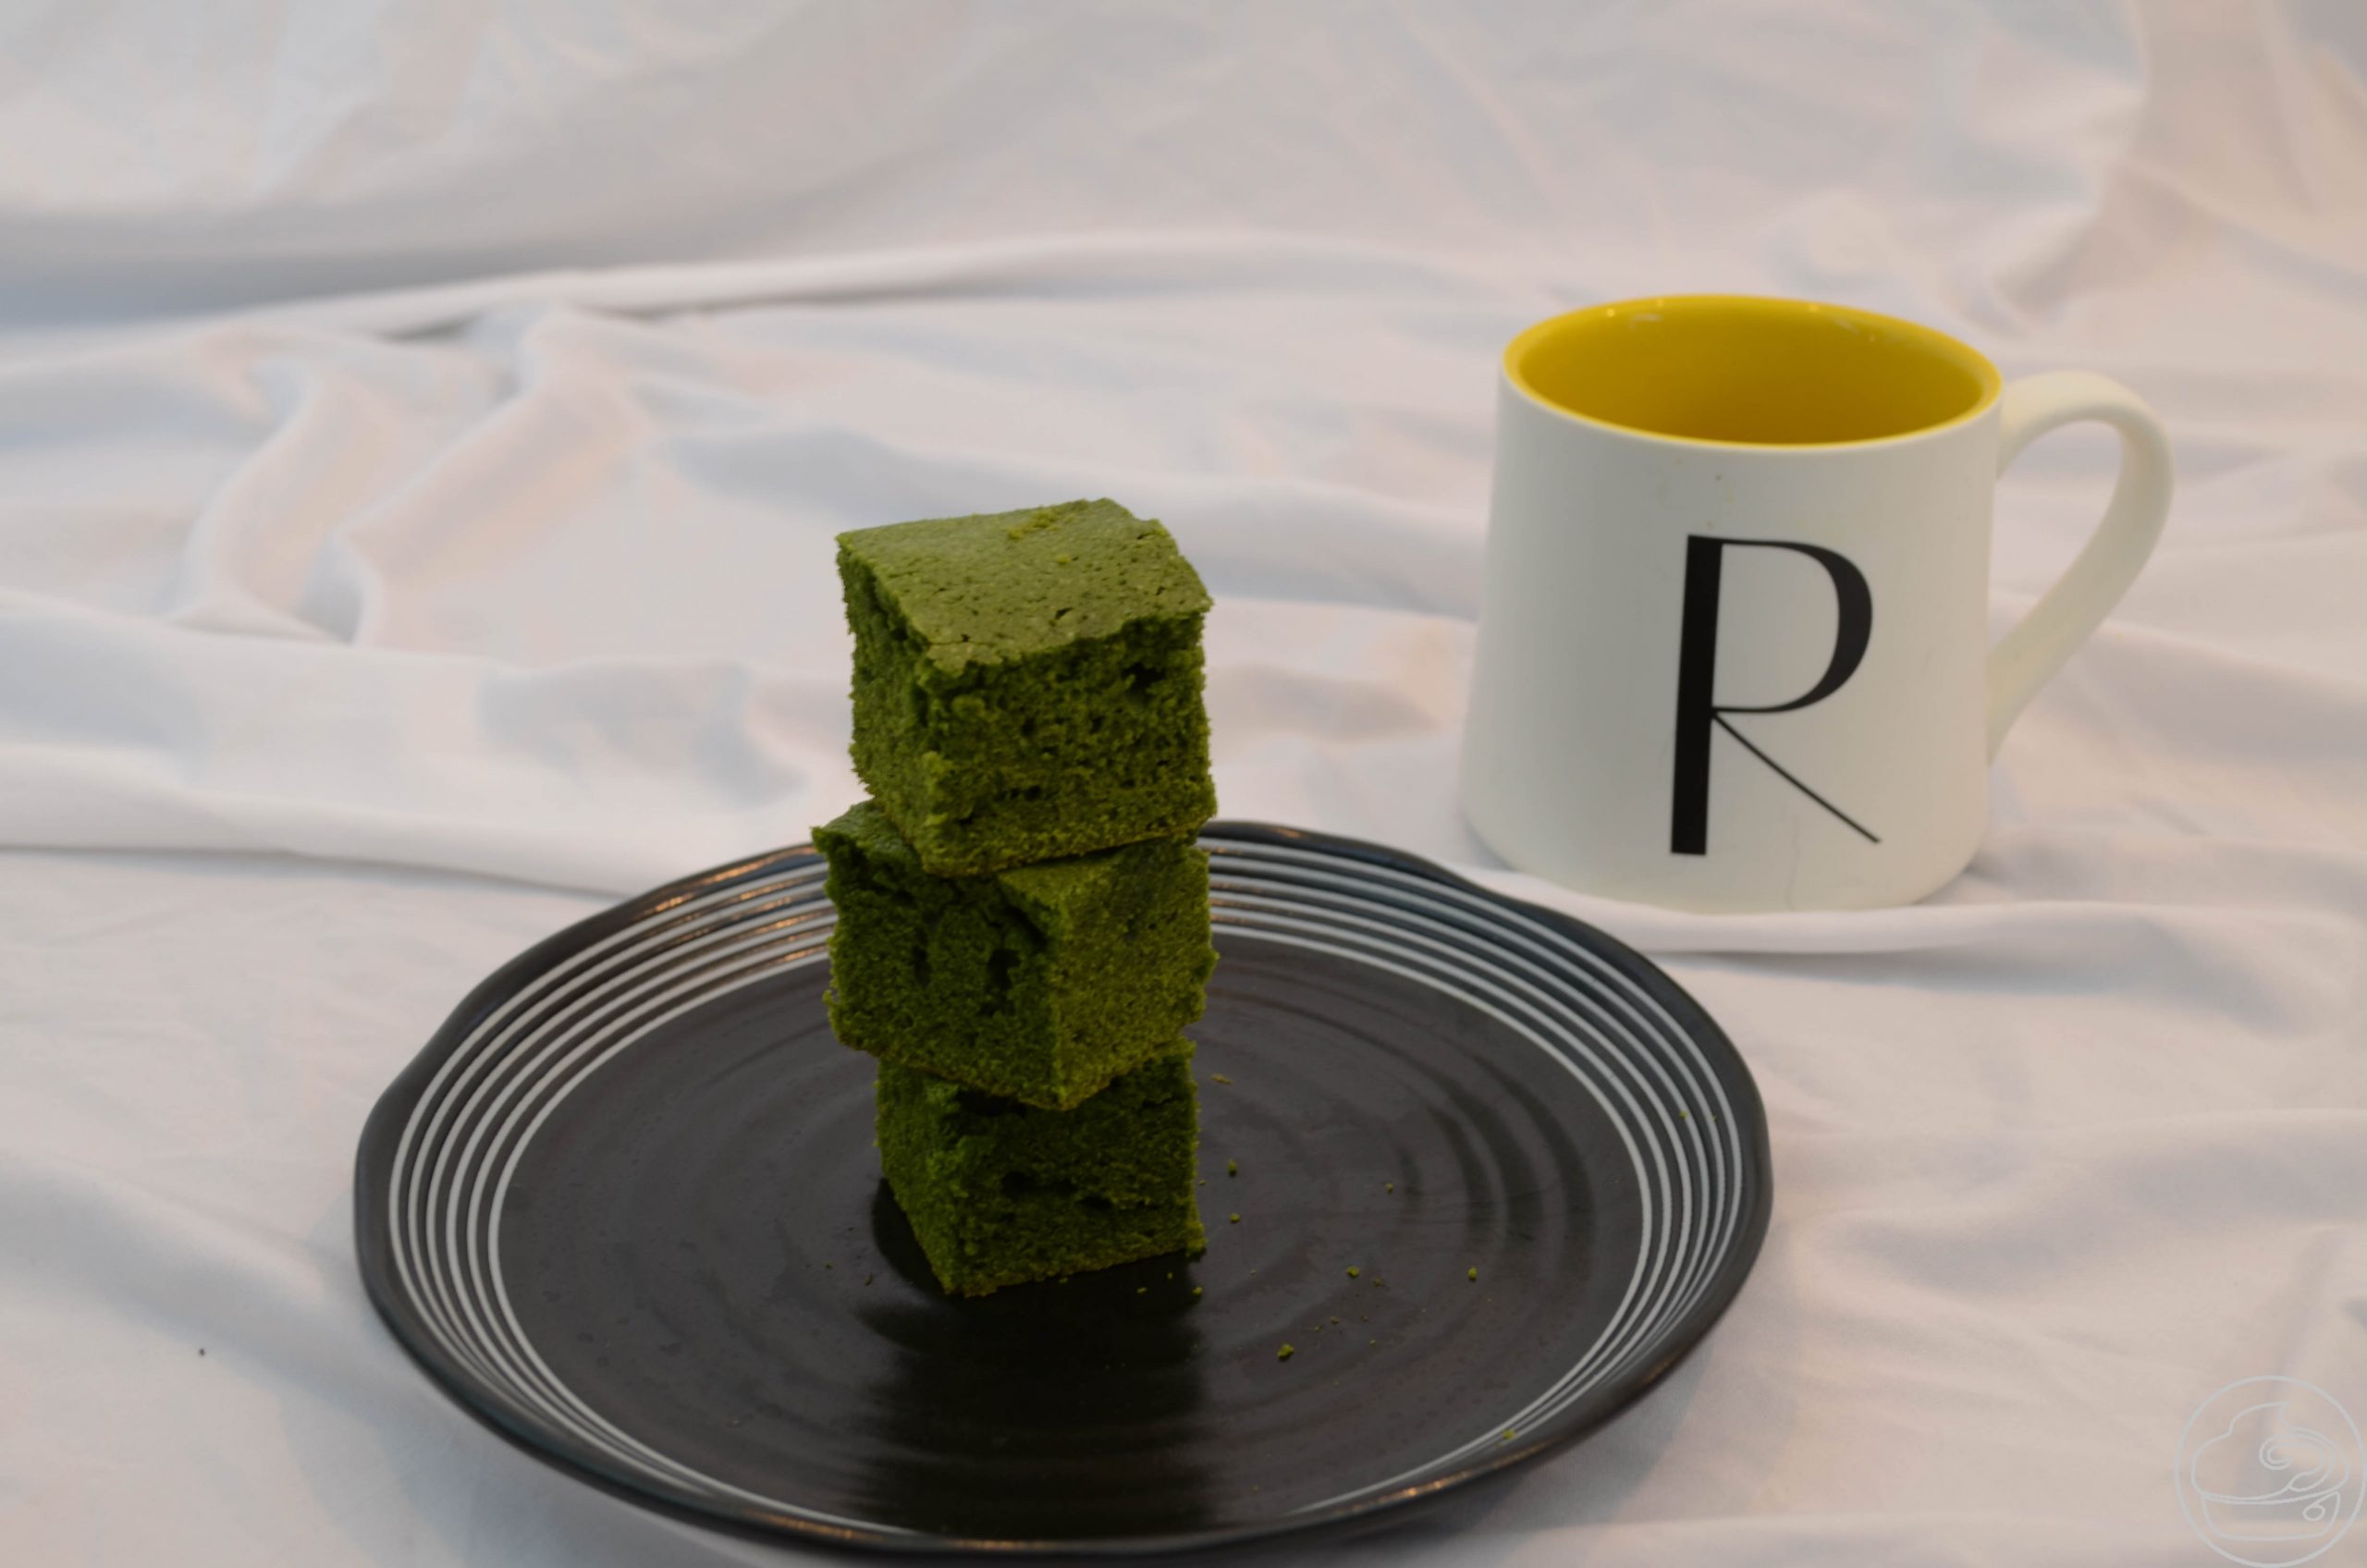
Yummy Matcha Bites
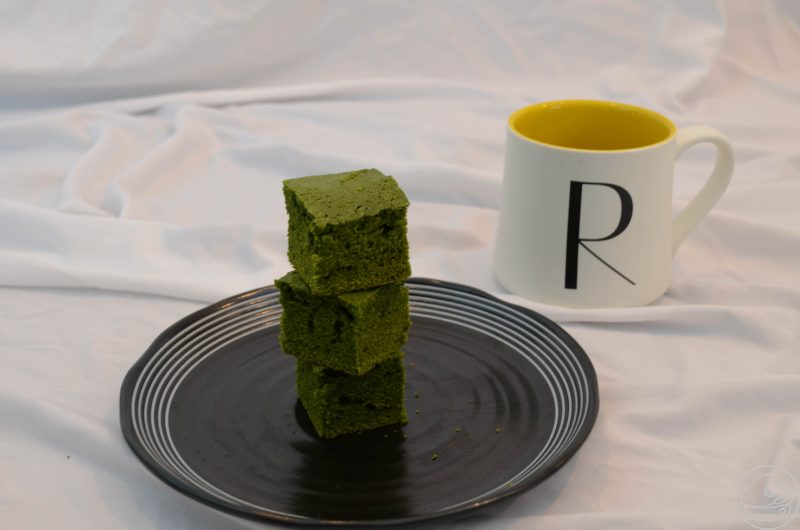
Matcha Bites – quick, easy, and satisfying. This recipe was born from having some extra matcha leftover after working on the NSSSO’s birthday cake. Slightly bitter behind a subtle sweetness, these matcha bites take the guilt out of snacking. Try your hand at making these today.
Matcha Bites, unexpected experiment. These bites came to life because I was looking for a way to use up the matcha I had hanging around at home. Leafing through my recipe book, a well-loved brownie recipe caught my eye, and after some modifications and testing, these matcha bites were born. Just enough sweetness to cut the bitter of the tea while keeping a cake-like texture, these bites became a big hit at home.
Somehow, the idea of having green tea in my dessert makes the entire thing feel much less guilty instantly. Is it because green tea is known for being healthy? Is it because it’s green and we think of vegetables? I don’t know either. But I can tell you, the idea of having a brownie of similar size feels a lot guiltier than having a matcha bite.
From what I understand, there are different types of matcha. While hunting for matcha to create the NSSSO’s birthday cake, I stumbled into the world of drinking vs culinary matcha. I’m the first to admit I don’t know the difference; I didn’t even know there was a difference between the two. Thankfully, the specialty store that I was shopping at gave me some pretty comprehensive descriptions of which of their matcha products was for cooking and which was for drinking. I wouldn’t want to accidently bake with what was meant for tea ceremony usage after all. So be careful when it comes to buying your matcha, make sure you have the right type for what you need.
A quick google tells me that we shouldn’t have too much matcha in one day since it still contains a good amount of caffeine. Keeping this in mind helps me from eating too much of these bites, especially since my caffeine intolerance can and will rear its ugly head. But the NSSSO has no issues with finishing them off if I can’t eat them.
As usual, I advise that you gather your ingredients before starting this recipe.
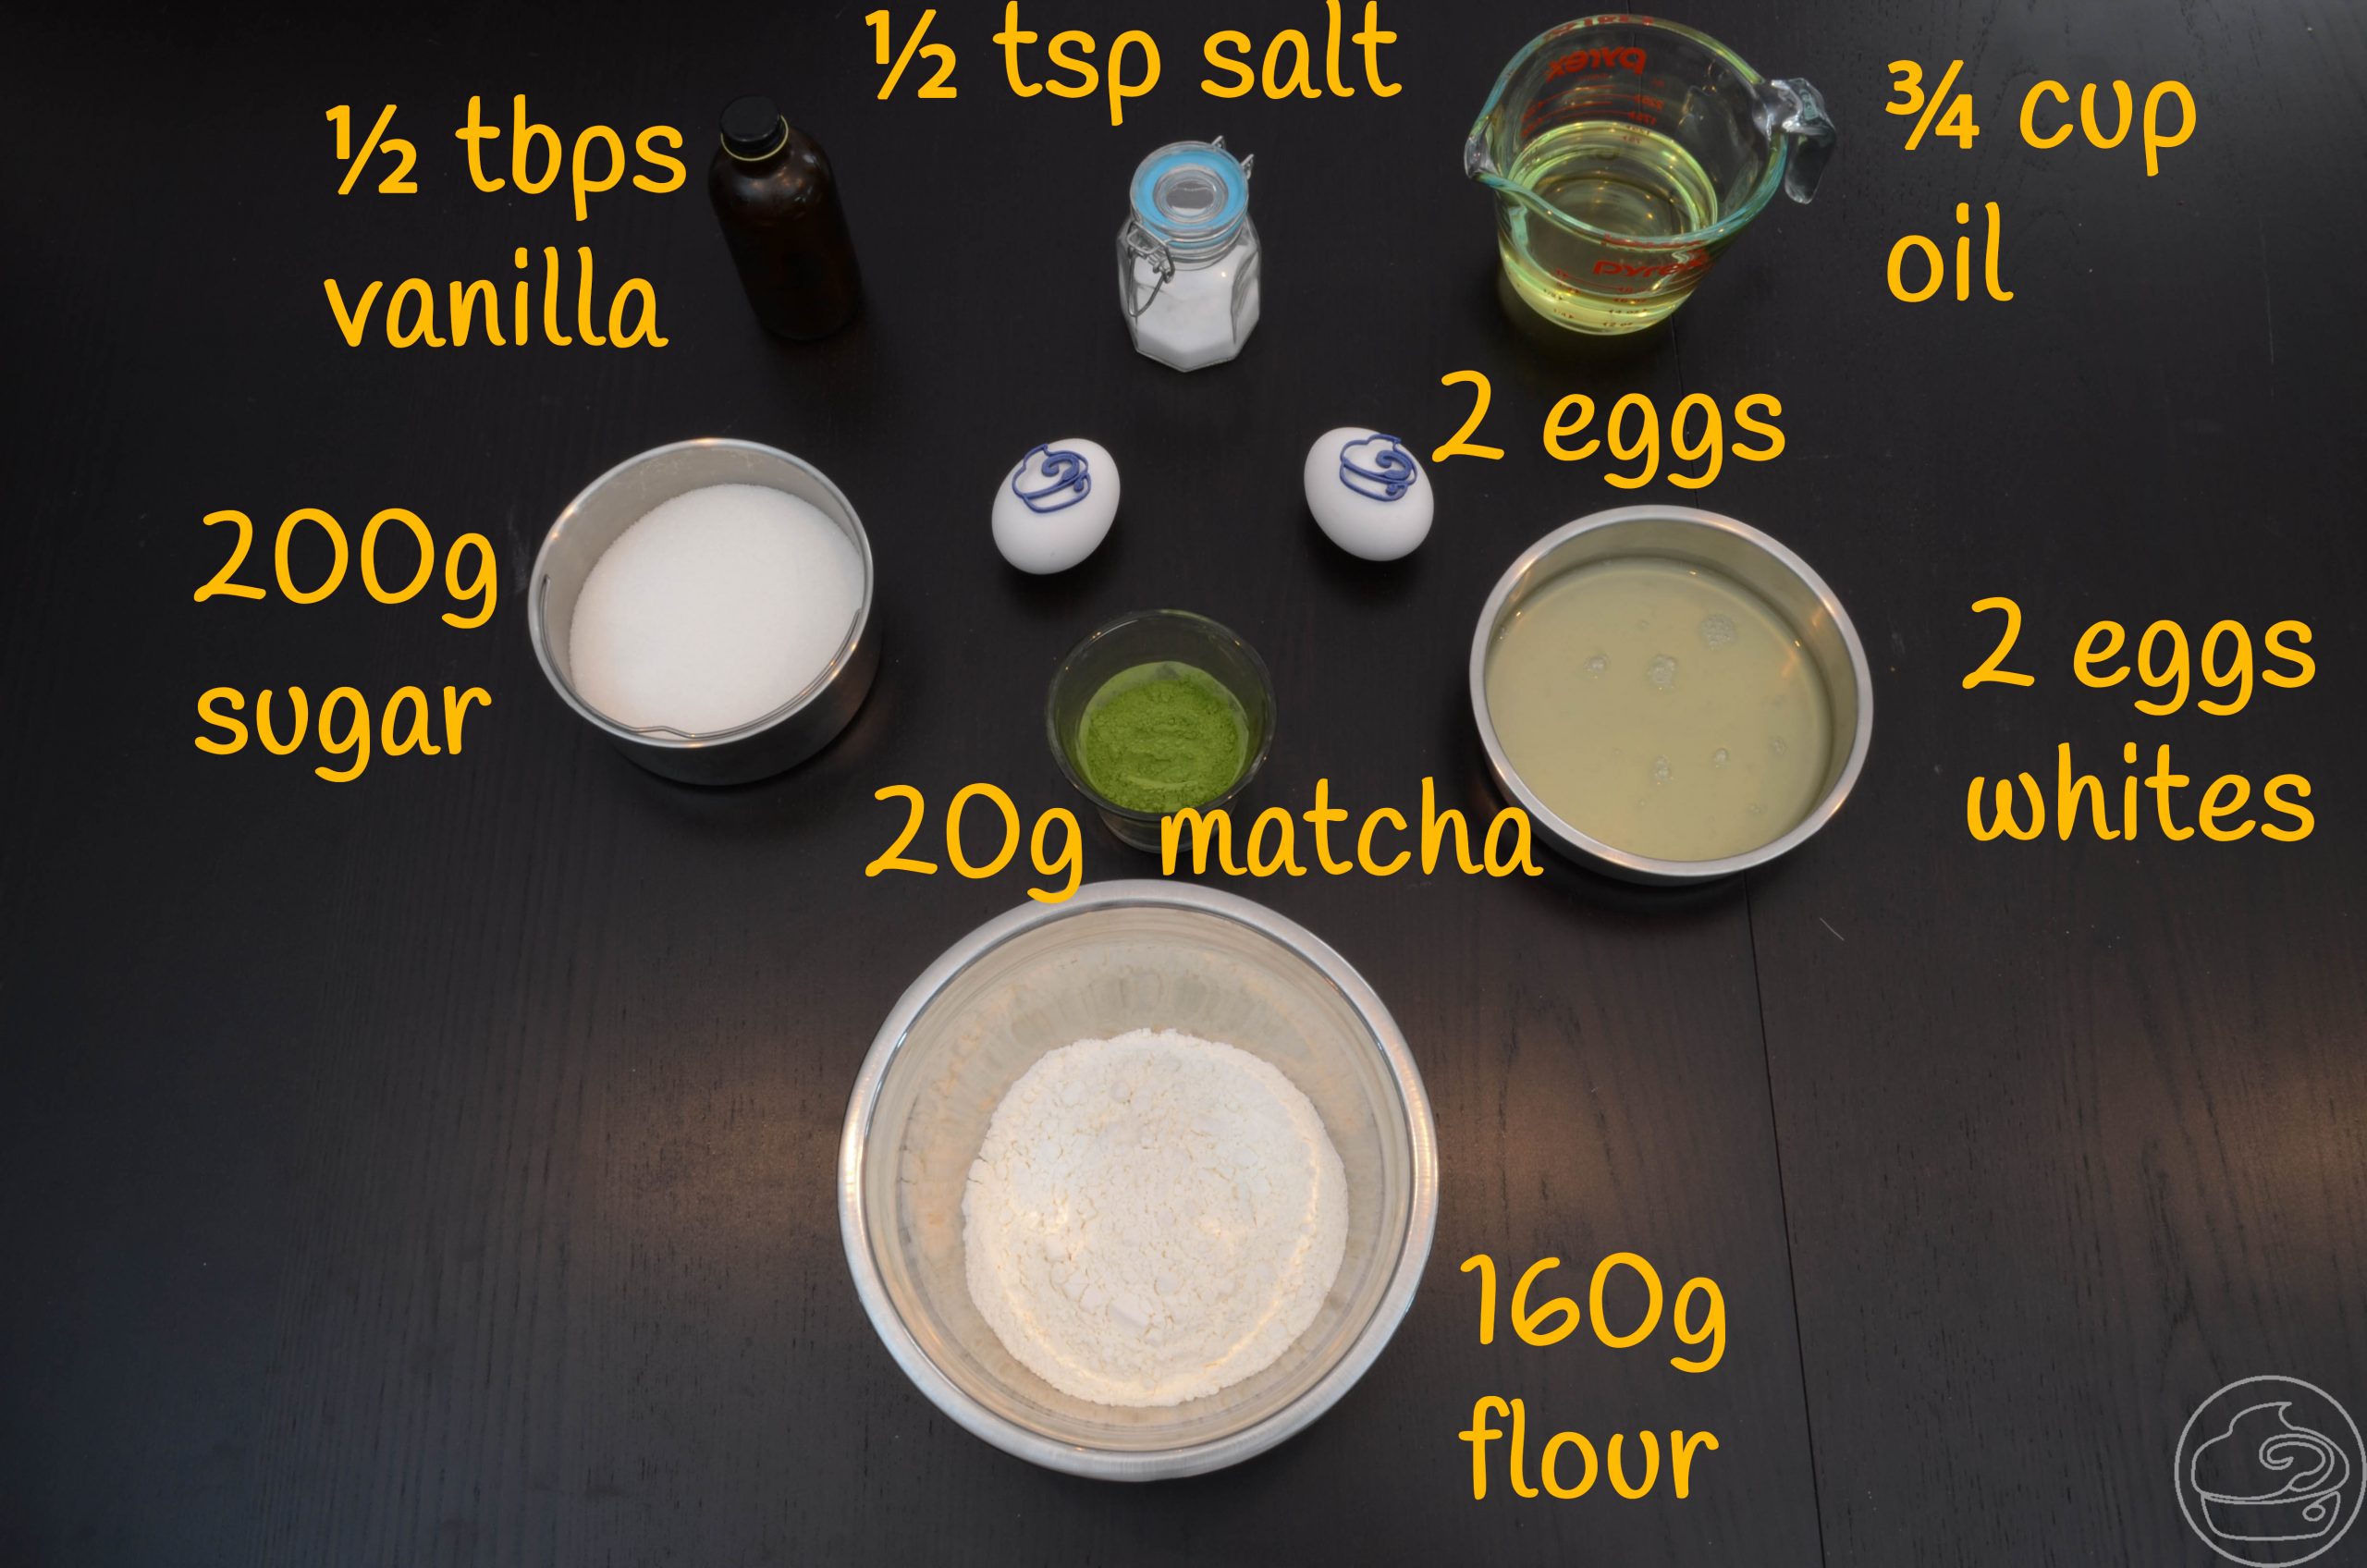
Preheat the oven to 325° F. Since I adapted this from a brownie recipe, we are going with low temperature and slow baking.
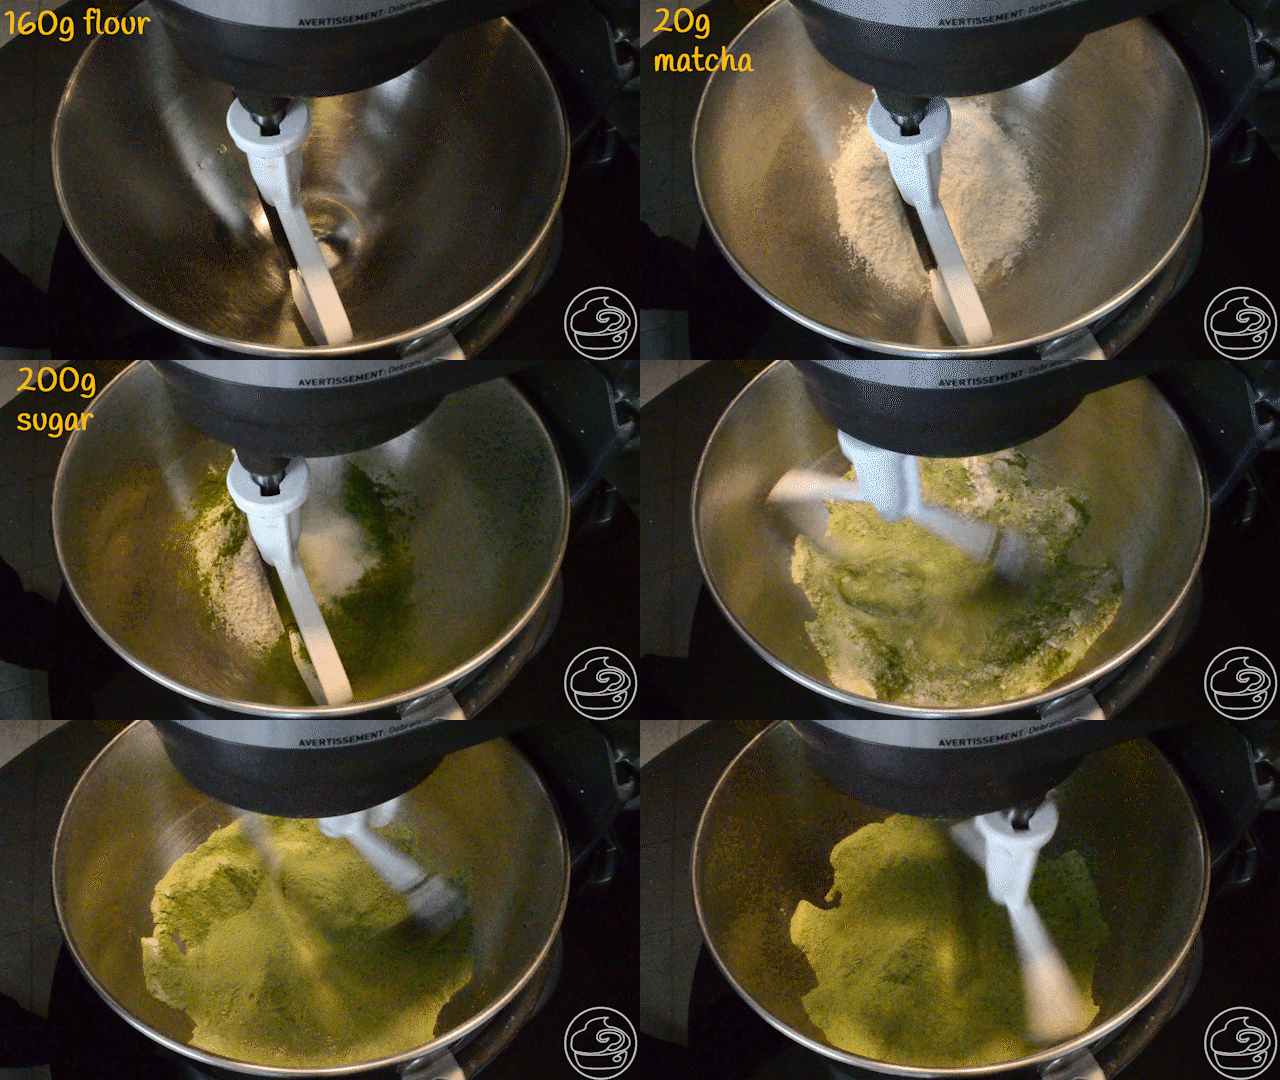
In a large bowl, combine flour, matcha powder, sugar, and salt. This mixture will turn a very pretty light green but make sure you’ve mixed well and that there are pockets of matcha hidden among the flour.
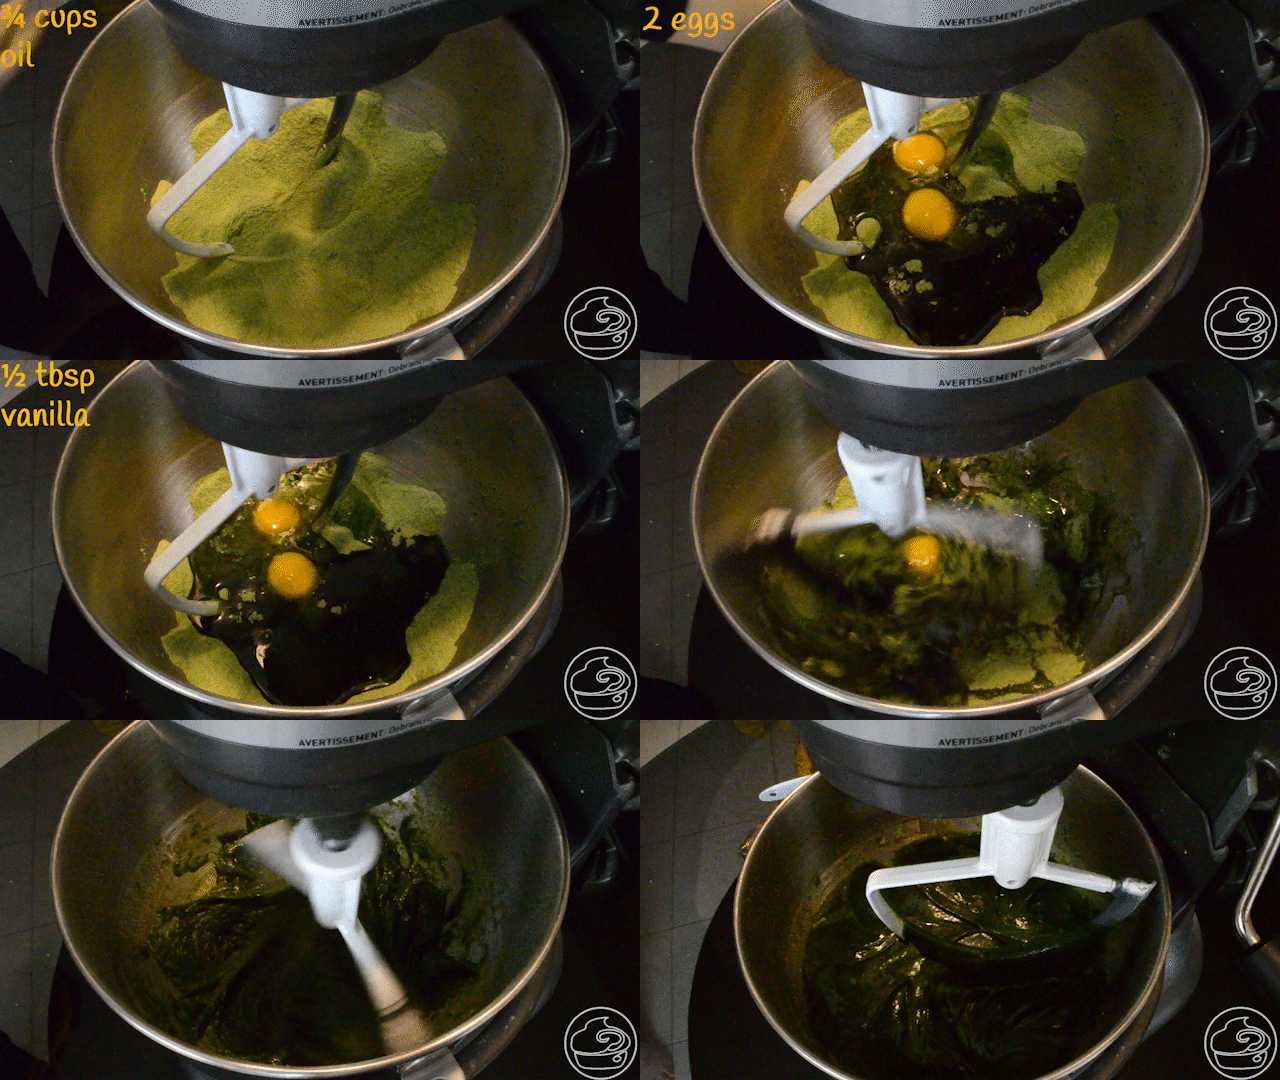
Once your dry ingredients are all combined, add the eggs, egg whites, oil, and vanilla. Mix to combine.
The batter will be ready once it turns shiny but fold it a couple of times to make sure all the dry ingredients have been incorporated and that there are no matcha powder surprises on the bottom of the bowl (that’s happened to me before, I was very sad to find that there was a giant pocket of matcha flour after pouring the mixture into the prepared pan already).
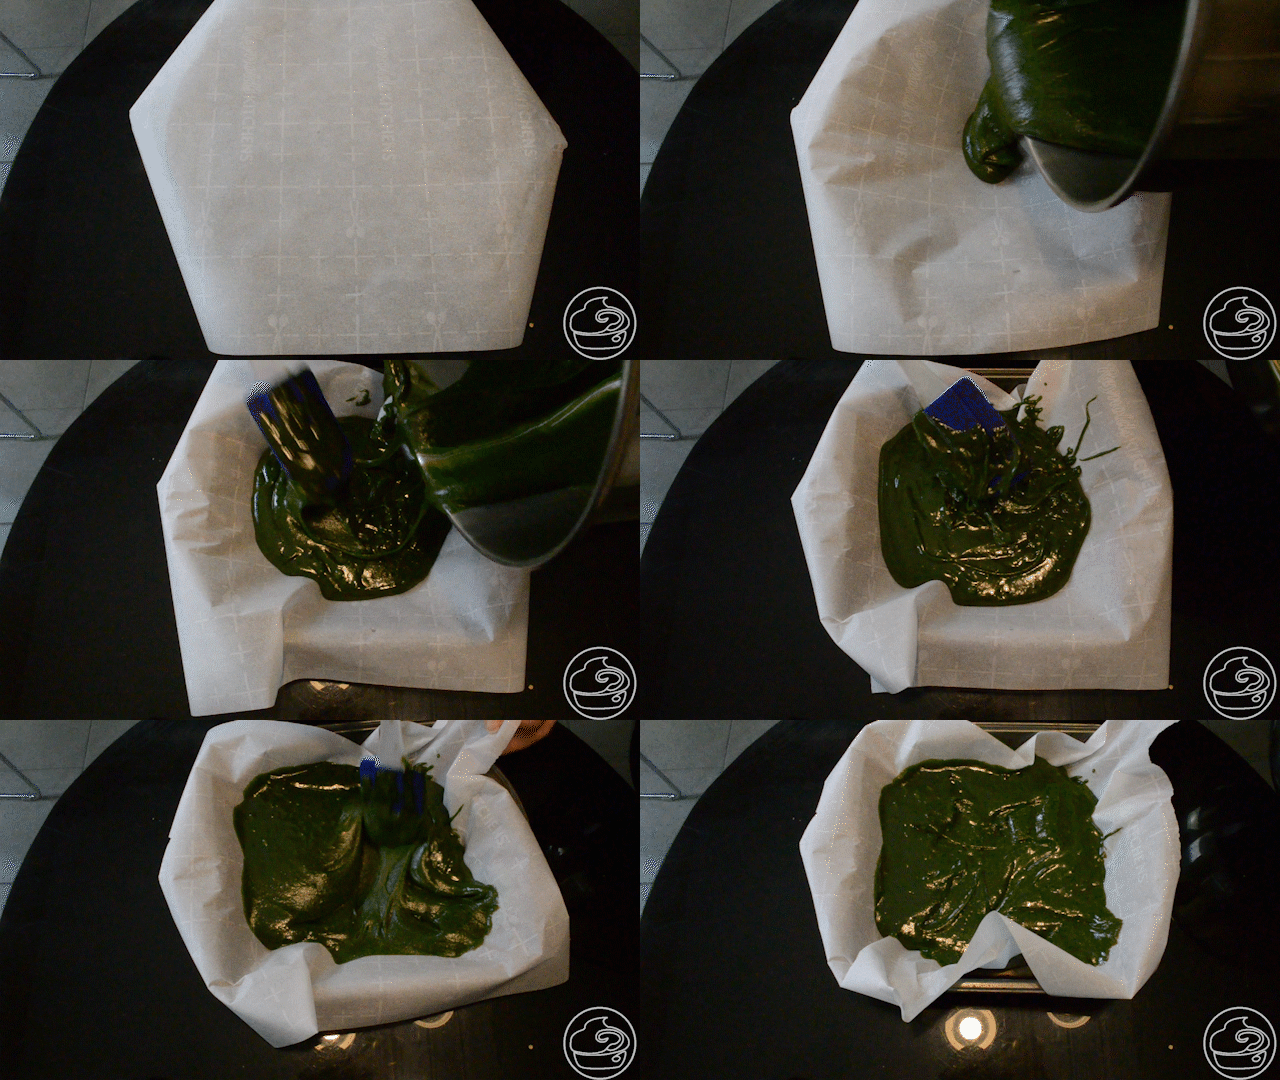
Set up your pan, I like to use parchment paper to save me the hassle of oiling whatever baking pan I choose to use for this recipe. Once your pan is ready, pour the mixture in. Keep in mind the spread it out so your matcha bites come out evenly.
In the oven for 40 to 45 minutes. How do we test for doneness? Toothpicks. Stick a toothpick into your bites (I like t do it two or three times just to be sure, because I’m paranoid like that). If it comes out clean with basically no crumbs sticking to it, you’ve finished your matcha bites.
Yummy Matcha Bites
Course: Dessert, SnackDifficulty: Easy1
servings5
minutes45
minutesIngredients
1 Cup /160g Flour
¼ Cup/20g Matcha Powder (culinary)
½ TSP Salt
1 Cup/200g Sugar
¾ Cup Oil
2 Eggs
2 Egg Whites
½ TBSP Vanilla
Directions
- Preheat the oven to 325° F and prepare your baking pan.
- Combine 160g flour, 20g matcha powder, ½ TSP salt, and 200g sugar.
- Once everything is combined, add in ¾ Cup oil, two (2) whole eggs, two (2) egg whites, and ½ TBSP vanilla.
- Mix until batter becomes thick and shiny.
- Transfer batter to prepared baking pan and bake for 40-45 minutes.
- Once done, remove from pan. Let cool for 5 minutes before cutting into desired size.



-
Tagged Chinese Food, Dinner, Ribs, Simple Recipe, Sweet and Sour Ribs